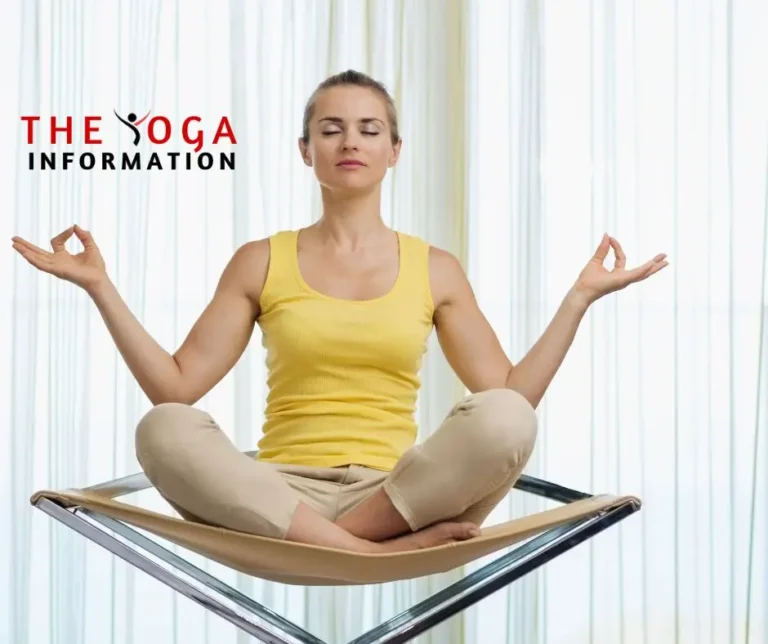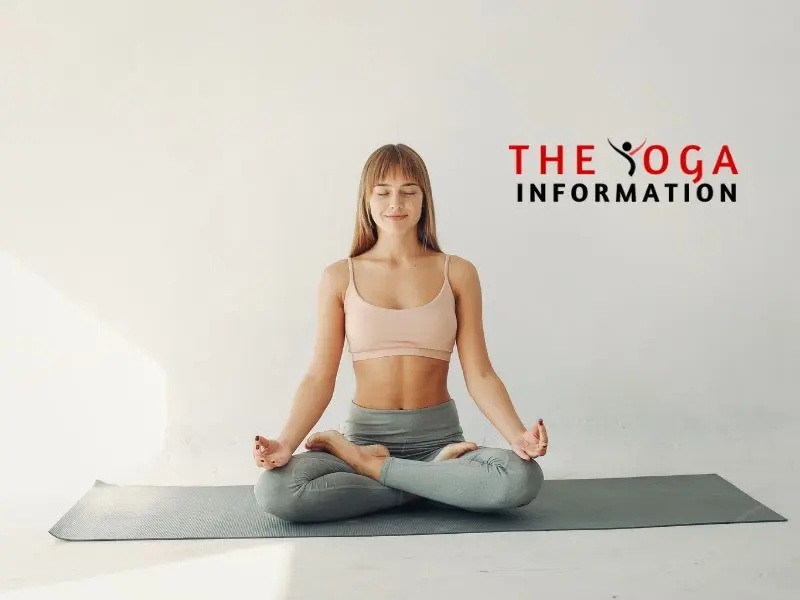
Yoga poses for one person are a great practice for increasing both physical and mental well-being, and there are many different poses ideal for solo practice. Engaging in yoga alone allows individuals to fully experience the multitude of benefits that yoga has to offer at their own speed and in the comfort of their own space.
Benefits of Yoga poses for one person
The Transformative Benefits of Yoga Poses for Solo PracticeIn today’s fast-paced world, finding moments of solitude and self-care is essential for maintaining overall well-being. One powerful way to achieve this is through the practice of yoga, particularly through solo yoga poses. Here are some of the key benefits of practicing yoga poses for one person
Personalized Experience
When you practice yoga alone, you have the freedom to tailor your practice to suit your specific needs and preferences. You can focus on the areas of your body that require attention and explore different poses at your own pace.
Enhanced Mind-Body Connection
Solo yoga practice allows you to deepen your awareness of your body and breath. By tuning into your physical sensations and mental state without external distractions, you can cultivate a stronger mind-body connection.
Flexibility and Convenience
With solo yoga practice, you have the freedom to practice anytime, anywhere. Whether it’s in the comfort of your home, a serene outdoor setting, or while traveling, you can easily integrate yoga into your daily routine.
Self-Reflection and Mindfulness
Practicing yoga alone creates a space for self-reflection and mindfulness. It provides an opportunity to quiet the mind, let go of external stressors, and tune into your inner thoughts and emotions.
Ideal Yoga Poses for One Person
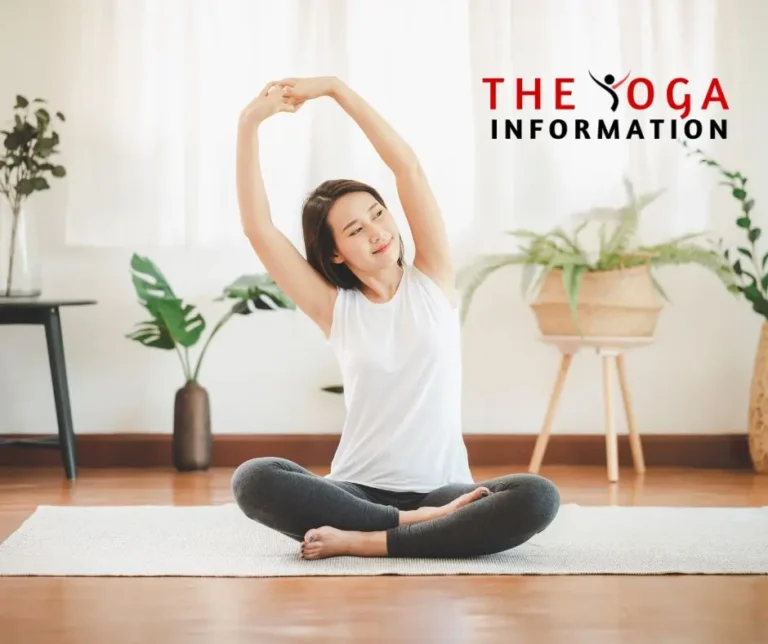
When practicing yoga alone, it’s important to find ideal yoga poses for one person that provide both physical and mental benefits. Yoga poses for one person allow for a personalized practice that can be tailored to individual needs and preferences. These poses can help improve flexibility, strength, balance, and relaxation.
Mastering Mountain Pose (Tadasana)
How to Practice
Start by standing at the top of your yoga mat with your feet together or hip-width apart, depending on your comfort.
Distribute your weight evenly on both feet, grounding them into the floor.
Engage your thigh muscles, lift your kneecaps, and gently tuck your tailbone.
Lengthen your spine, roll your shoulders back and down, and extend your arms alongside your body with your palms facing inward.
Soften your gaze and breathe deeply, feeling the connection between your feet and the earth.
Benefits of the Pose
Improves Posture: Practicing Tadasana helps in aligning the spine, shoulders, and hips, promoting better posture.
Strengthens Legs and Core: This pose strengthens the muscles in the legs, core, and ankles, enhancing overall stability.
Increases Awareness: By focusing on the alignment and grounding, practitioners develop greater body awareness and mindfulness.
Energizes the Body: Mountain Pose is known for creating a sense of revitalization and energy, making it an excellent pose to start or end a yoga session.
Tips for Practicing
Mindful Breathing: Pay attention to your breath and maintain a steady, deep inhale and exhale throughout the pose.
Engage the Muscles: Ensure that you are actively engaging your leg muscles, core, and arms to experience the full benefits of the pose.
Visualize Strength: Imagine yourself as a tall, majestic mountain, embodying strength, stability, and tranquility.
Warnings
Injury Precautions: If you have any existing conditions like ankle or knee injuries, practice with caution and consult a yoga instructor for modifications.
Pregnancy: Pregnant individuals should modify the pose by separating their feet to accommodate their growing belly.
Mastering Downward-Facing Dog
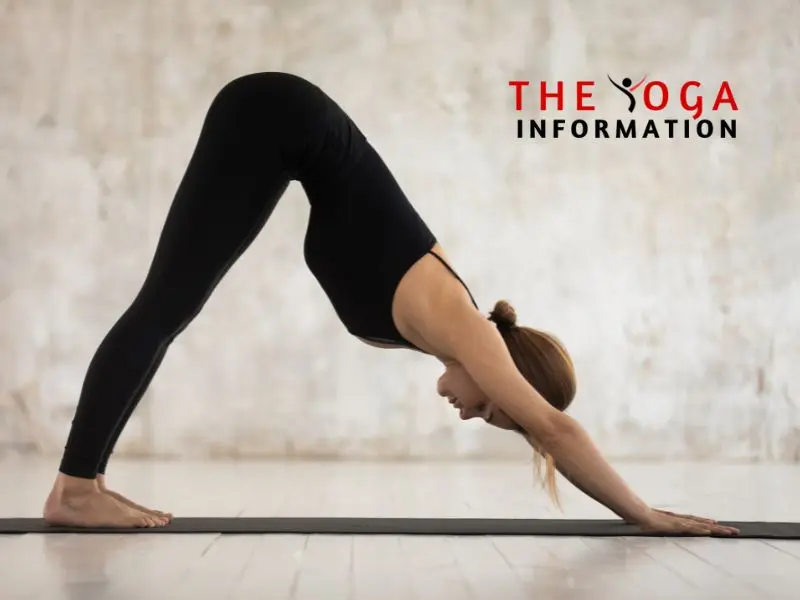
How to Practice
Start on your hands and knees in a tabletop position, with your wrists aligned under your shoulders and your knees under your hips.
Exhale and lift your knees away from the floor, keeping them slightly bent, and begin to straighten your arms.
Press your hands firmly into the mat, spreading your fingers wide, and engage your core as you lift your hips toward the ceiling.
Straighten your legs as much as your flexibility allows, and press your heels toward the ground.
Lengthen your spine, drawing your tailbone toward the ceiling, and gently release your head and neck, allowing them to hang freely.
Hold the pose for several breaths, focusing on deep, steady inhalations and exhalations.
Benefits of the Pose
Strengthens the arms, shoulders, and wrists
Stretches the calves, hamstrings, and arches of the feet
Improves posture and spinal alignment
Relieves tension in the back, neck, and shoulders
Calms the mind and reduces stress and anxiety
Energizes the body and increases circulation
Builds endurance and stamina
Tips for Practicing
Tips for Practicing
Warm up your body with gentle stretches and Sun Salutations before practicing this pose.
Keep a slight bend in your knees if you feel any discomfort or tension in your hamstrings.
Focus on lengthening your spine and maintaining a strong connection with the ground through your hands and feet.
Modify the pose by using props such as blocks under your hands or a strap around your arms if needed.
Breathe deeply and consciously, allowing your breath to guide and support your movements.
Warnings
Avoid practicing Downward-Facing Dog if you have a recent or current injury to your wrists, arms, shoulders, or back.
If you have high blood pressure, glaucoma, or are pregnant, consult with a qualified yoga instructor or healthcare professional before practicing this pose.
Listen to your body and modify the pose as needed to prevent any strain or discomfort.
Mastering Warrior I (Virabhadrasana I)
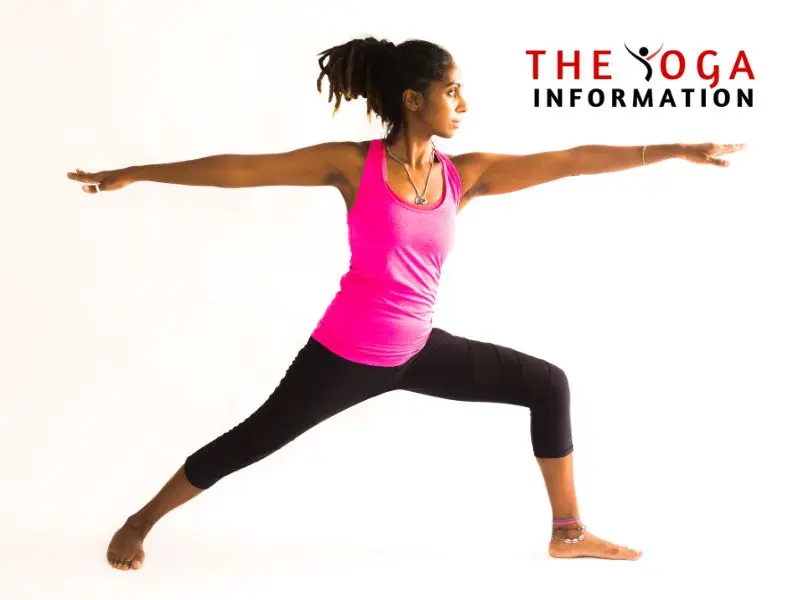
How to Practice
Begin by standing at the top of your mat with your feet hip-width apart.
Step your left foot back, keeping it at a 45-degree angle, and bend your right knee, stacking it directly over your ankle.
Ground your back foot firmly into the mat, feeling a gentle arch in the foot, and press the outer edge of your foot into the ground.
Inhale as you raise your arms overhead, bringing your palms together or keeping them shoulder-width apart.
Engage your core and lengthen your spine, lifting your chest and gazing forward or slightly upward.
Hold the pose for several breaths, focusing on your breath and maintaining a strong foundation through your legs and feet.
To release the pose, exhale as you lower your arms and step your left foot forward to return to the starting position.
Benefits of the Pose
Strengthens the legs, arms, and core muscles.
Opens the hips and chest, improving flexibility and posture.
Builds concentration and focus, calming the mind and reducing stress.
Energizes the entire body, promoting a sense of empowerment and confidence.
Stimulates the abdominal organs and aids in digestion.
Enhances balance and stability, contributing to overall coordination and body awareness.
Tips for Practicing
Focus on maintaining a steady breath throughout the pose, inhaling deeply to expand the chest and exhaling to ground through the legs.
Keep the front knee aligned over the ankle to prevent strain and injury.
Experiment with the position of your back foot to find the most stable and comfortable stance for your body.
If you experience discomfort in the shoulders, try widening the distance between your arms or bringing your hands to your hips instead of reaching them overhead.
Warnings
Individuals with knee, hip, or shoulder injuries should exercise caution when practicing Warrior I and may need to modify the pose or seek guidance from a qualified yoga instructor.
Avoid forcing the body into the pose; instead, focus on gradual progression and listen to your body’s limits.
If you have high blood pressure, consult with a healthcare professional before practicing this or any other intense yoga pose.
Mastering the Tree Pose (Vrksasana)
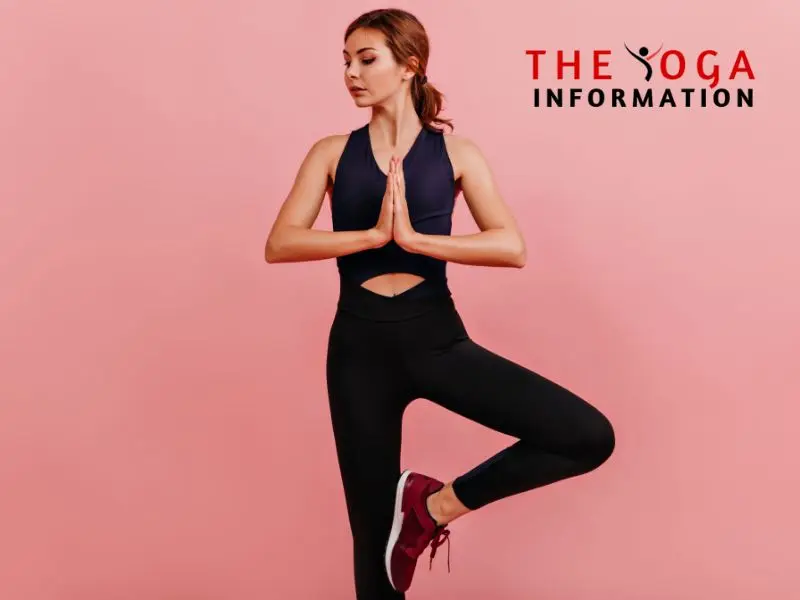
How to Practice
Start by standing tall in Mountain Pose (Tadasana) with your arms by your sides.
Shift your weight onto your left foot and bend your right knee, bringing the sole of your right foot to rest on the inner left thigh. If this is challenging, you can place the foot on the inner calf or ankle, avoiding the knee.
Find a focal point to gaze at to help with balance, and bring your palms together in front of your chest in a prayer position.
Engage your core, lengthen your spine, and gently press the sole of your foot into the inner thigh while the thigh presses back against the foot.
Take deep breaths and hold the pose for 30 seconds to 1 minute.
Release the right leg and return to Mountain Pose. Repeat on the other side.
Benefits of the Pose
Improves balance and stability.
Strengthens the legs, ankles, and feet.
Opens the hips and stretches the inner thighs.
Builds concentration and mental focus.
Promotes good posture and alignment.
Calms the mind and reduces stress and anxiety.
Tips for Practicing
Start with a low variation of the pose by placing the foot on the calf or ankle to improve balance before progressing to the thigh.
Use a wall or a chair for support if needed, especially when first learning the pose.
Engage the core muscles to maintain stability and prevent leaning to one side.
Keep the standing leg strong and rooted into the ground.
Practice regularly to improve balance and strength.
Warnings
Avoid placing the foot directly on the knee to prevent strain or injury to the joint.
If you have high or low blood pressure, avoid raising your arms overhead in the pose.
Individuals with ankle or knee injuries should practice with caution or seek guidance from a qualified yoga instructor.
Always listen to your body and avoid pushing beyond your limits.
Child’s Pose (Balasana)

How to Practice
Starting Position: Begin by kneeling on the yoga mat with your big toes touching and knees spread apart to the width of the mat.
Bend Forward: As you exhale, lower your torso down between your thighs. You can keep your arms extended in front of you or alongside your body, whichever is more comfortable.
Relaxation: Rest your forehead on the mat and focus on deep, steady breaths. Feel the stretch in your back and hips as you settle into the pose.
Duration: Hold the pose for 1-3 minutes or longer, depending on your comfort level and experience.
Benefits of the Pose
Stress Relief: Child’s Pose is a deeply calming posture that helps to reduce stress and anxiety. The gentle pressure on the forehead can have a soothing effect on the mind.
Back and Hip Flexibility: This pose stretches the lower back, hips, thighs, and ankles, promoting flexibility and relieving tension in these areas.
Digestive Aid: Balasana can help improve digestion and alleviate discomfort in the abdomen.
Restoration: It provides a sense of grounding and relaxation, making it an ideal posture for unwinding and centering the mind.
Tips for Practicing
Modify as Needed: If you have knee discomfort, you can place a folded blanket under your knees for added support.
Breathing: Focus on deep, mindful breathing to enhance the relaxation benefits of the pose.
Listen to Your Body: Pay attention to your body’s signals and adjust the pose as necessary to ensure comfort and safety.
Use Props: If reaching the floor is challenging, you can place a cushion or block under your forehead for support.
Warnings
Knee or Ankle Injury: If you have a knee or ankle injury, approach this pose with caution and consider using additional props for support.
Pregnancy: Pregnant individuals should practice Child’s Pose with their knees apart to accommodate their belly, and it’s advisable to seek guidance from a prenatal yoga instructor.
High Blood Pressure: Individuals with high blood pressure should avoid fully extending their arms in this pose, and may benefit from using props for added elevation.
Cat-Cow Stretch (Marjaryasana-Bitilasana)
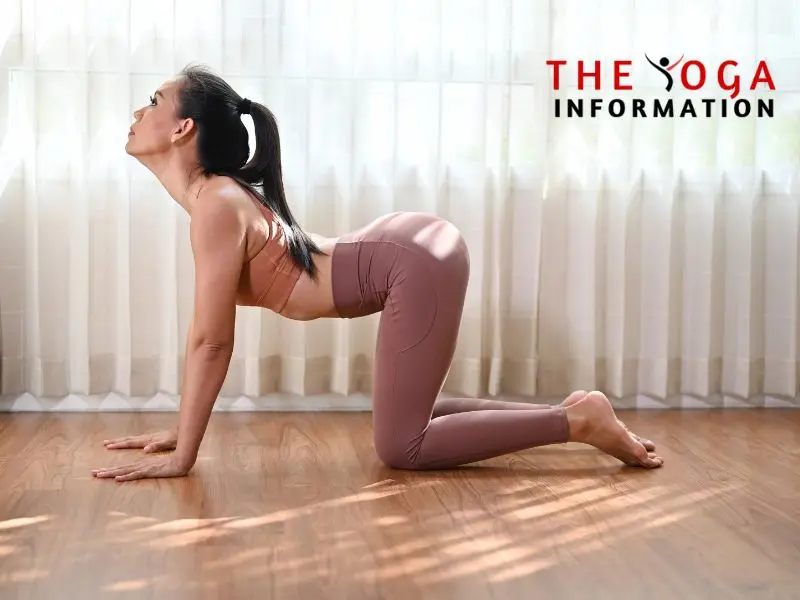
How to Practice
Begin on your hands and knees, aligning your wrists directly under your shoulders and your knees under your hips.
As you inhale, arch your back and lift your tailbone and chest towards the ceiling, allowing your belly to sink towards the floor. This is the “Cow” position.
Exhale as you round your spine towards the ceiling, tucking your chin to your chest and drawing your belly button towards your spine. This is the “Cat” position.
Flow smoothly between the Cow and Cat positions, synchronizing your breath with your movements. Repeat this sequence for several breaths, allowing your spine to gently flex and extend.
Benefits of the Pose
Spinal Flexibility: The Cat-Cow Stretch helps to increase the flexibility and mobility of the spine, promoting better posture and reducing back pain.
Stress Relief: The rhythmic movement and mindful breathing involved in this pose can help alleviate stress and calm the mind, making it an ideal addition to your solo yoga practice.
Abdominal Massage: The gentle rocking motion of the Cat-Cow Stretch can provide a soothing massage to the internal organs, particularly the abdomen, aiding in digestion and promoting overall well-being.
Tips for Practicing
Focus on Breath: Pay close attention to your breath, inhaling deeply as you arch into the Cow position and exhaling fully as you round into the Cat position.
Customize the Pace: Adjust the speed of your movements to suit your comfort level, allowing the flow to be smooth and gentle.
Mind-Body Connection: Visualize the undulating movement of a cat and cow as you transition between the two positions, fostering a deeper mind-body connection.
Warnings
Avoid Overexertion: While the Cat-Cow Stretch is gentle, it’s important to listen to your body and avoid overexertion, especially if you have existing back or neck injuries.
Consult a Professional: If you have any medical concerns or conditions, seek guidance from a qualified yoga instructor or healthcare professional before attempting this pose.
Mastering the Seated Forward Bend (Paschimottanasana)
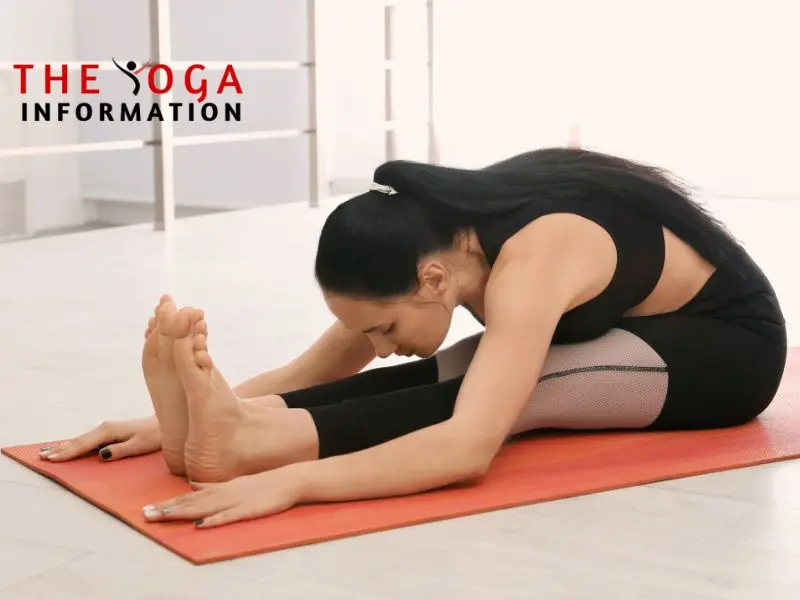
How to Practice
Preparation: Begin by sitting on the floor with your legs extended in front of you. Ensure that your spine is straight and your sitting bones are grounded.
Inhale and Lengthen: As you inhale, elongate your spine, lifting through the crown of your head.
Exhale and Fold: On the exhale, hinge at your hips and gently fold forward, reaching towards your feet. Hold onto your shins, ankles, or feet, depending on your flexibility.
Alignment: Keep your back straight and avoid rounding your spine. Focus on leading with your chest to maintain proper alignment.
Breathing: Breathe deeply and steadily as you hold the pose for several breaths, allowing your body to relax and release tension.
Release: To come out of the pose, inhale and slowly lift your torso back to an upright position, maintaining the length in your spine.
Benefits of the Pose
Stretches the Spine and Hamstrings: This pose provides a deep stretch to the entire length of the spine and the backs of the legs, promoting flexibility and mobility.
Calms the Mind: The gentle forward fold and focus on breath work help to calm the mind, reduce stress, and alleviate anxiety.
Stimulates Digestion: Paschimottanasana aids in massaging the abdominal organs, which can help improve digestion and alleviate digestive discomfort.
Relieves Tension: The elongation of the spine and release of tension in the back and shoulders can help alleviate stiffness and tension in the upper body.
Promotes Relaxation: The soothing nature of this pose can help induce a state of deep relaxation, making it an excellent addition to a bedtime yoga routine.
Tips for Practicing
Use Props:If reaching your feet feels challenging, consider using a yoga strap or a towel to loop around your feet, allowing you to gently pull yourself forward with the support of the prop.
Modify as Needed: If you have tight hamstrings or a sensitive lower back, you can slightly bend your knees or use a bolster or folded blanket under your knees to support your practice.
Warm-Up: Prior to practicing Paschimottanasana, engage in a gentle warm-up to prepare your body, such as seated twists, gentle forward folds, and hip-opening poses.
Mindful Breathing: Focus on deep, steady breaths throughout the pose to enhance the relaxation and release of tension in the body.
Warnings
Avoid Overexertion: Do not force yourself into the pose or push beyond your limits. Listen to your body and honor its current capabilities.
Injury Awareness: If you have a lower back injury, hamstring injury, or are pregnant, it’s advisable to consult with a yoga instructor or healthcare professional before practicing Paschimottanasana.
Gentle Engagement: Engage in the pose with gentleness and awareness, ensuring that you do not strain the muscles in your back or hamstrings.
Mastering the Corpse Pose (Savasana)
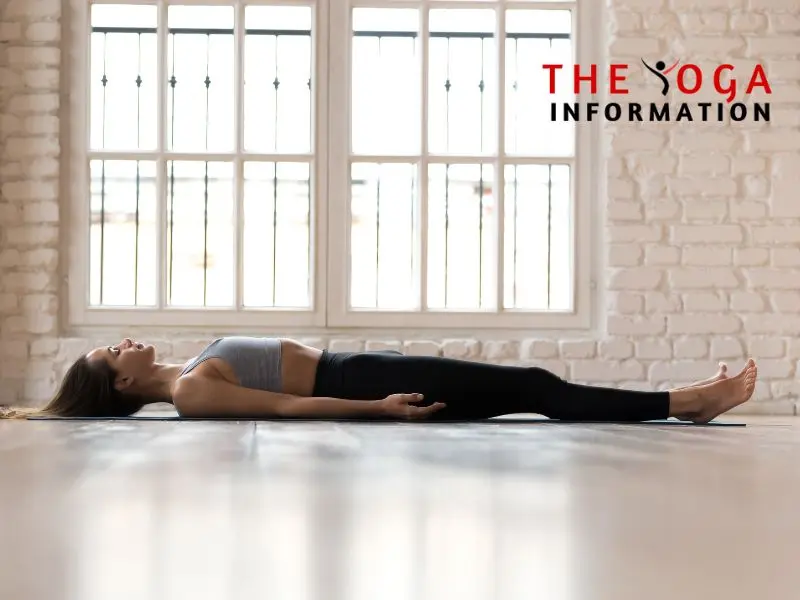
How to Practice
Lie flat on your back, ensuring your body is in a straight line.
Place your arms alongside your body with palms facing upwards.
Close your eyes and allow your body to completely relax.
Focus on your breath, letting it flow naturally without any effort.
Stay in this position for 5-10 minutes, or longer if desired, while maintaining deep relaxation and awareness.
Benefits of the Pose
Stress Reduction: Savasana promotes deep relaxation, helping to alleviate stress and anxiety.
Muscle Relaxation: It allows the muscles to release tension and promotes overall physical relaxation.
Mindfulness and Clarity: Practicing Savasana enhances mental clarity, focus, and awareness.
Improved Sleep: Regular practice of Savasana can contribute to better sleep quality and insomnia relief.
Spiritual Connection: It facilitates a deeper connection with the self, promoting inner peace and spiritual growth.
Tips for Practicing
Use Props: Place a bolster or cushion under your knees to release lower back tension.
Mindful Breathing: Focus on deep, rhythmic breathing to enhance relaxation and mindfulness.
Create a Peaceful Environment: Practice Savasana in a quiet, comfortable, and peaceful space free from distractions.
Gradual Progression: If you’re new to yoga, start with shorter Savasana sessions and gradually increase the duration as you become more comfortable with the pose.
Warning
Pregnancy: If you are pregnant, it’s advisable to practice Savasana on your side with a cushion for support.
Injury or Medical Conditions: Individuals with specific injuries or medical conditions should consult a healthcare professional before practicing Savasana to ensure it’s safe for their individual circumstances.
Mastering the Half Lord of the Fishes Pose (Ardha Matsyendrasana)
How to Practice
Begin by sitting on the floor with your legs extended in front of you.
Bend your knees and place your feet flat on the floor.
Cross your right foot over the outside of your left thigh, placing it flat on the floor.
Bring your left foot to the outside of your right hip, with the sole of your foot flat on the floor.
Inhale and lengthen your spine, sitting up tall.
As you exhale, twist to the right, bringing your left elbow to the outside of your right knee. Use your right hand for support behind you.
Hold the pose for several breaths, maintaining a straight spine and deepening the twist with each exhale.
Repeat on the other side by switching the position of your legs and twisting to the left.
Benefits of the Pose
Spinal Health: This pose helps improve spinal mobility and can alleviate stiffness in the back.
Digestive Health: The twisting motion of the pose can aid in digestion and help detoxify the body.
Hip Flexibility: Ardha Matsyendrasana stretches the hips, promoting flexibility and relieving tension in the hip joints.
Stimulates Internal Organs: The twist stimulates the digestive organs, kidneys, and liver, promoting overall organ health.
Relieves Stress: The deep twist can help release tension and stress, promoting a sense of relaxation and calm.
Tips for Practicing
Start Slow: If you’re new to this pose, take it slow and focus on maintaining proper alignment and breathing.
Use Props: Consider using a yoga block or bolster for support if you have difficulty reaching the floor with your hand in the twist.
Engage Your Core: Keep your core engaged to support your spine and maintain stability during the twist.
Breathe Deeply: Focus on deep, even breaths to facilitate the twist and release tension.
Warnings
Avoid this pose if you have a recent or chronic back injury.
Pregnant women should exercise caution and may choose to avoid deep twists.
If you have a back or spine condition, consult with a healthcare professional before attempting this pose.
Garland Pose (Malasana)
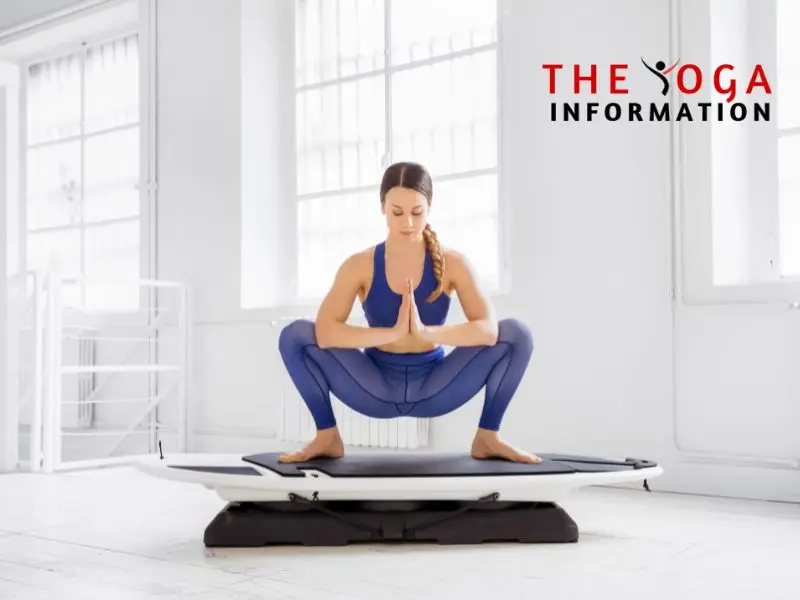
How to Practice
Start in a Standing Position: Stand with your feet hip-width apart, toes pointing slightly outward.
Lower into a Squat: Slowly lower your hips down, bringing your buttocks as close to the ground as comfortable. If needed, you can place a folded blanket or yoga block under your heels for support.
Bring Your Hands to Prayer Position: As you lower into the squat, bring your palms together at your heart center, pressing your elbows against your inner knees.
Lengthen Your Spine: Keep your spine long and your chest lifted as you engage your core muscles.
Breathe Deeply: Take slow, deep breaths as you hold the pose, focusing on relaxation and stability.
Release and Repeat: After holding the pose for a few breaths, gently release and repeat the sequence as desired.
Benefits of the Pose
Strengthens the Lower Body: Garland Pose builds strength in the thighs, hips, and lower back, promoting better posture and stability.
Improves Flexibility: Regular practice of Malasana helps to open up the hips, groin, and lower back, increasing overall flexibility.
Aids Digestion: The deep squatting position stimulates the digestive organs, aiding in digestion and elimination.
Relieves Tension: This pose helps to release tension in the hips and lower back, making it a great way to relieve stress and anxiety.
Tips for Practicing
Use Props if Needed: If you have difficulty balancing in the pose, use a yoga block or folded blanket for support under your heels.
Focus on Alignment: Pay attention to the alignment of your knees and ankles to prevent strain on the joints.
Modify the Pose: If you have knee or ankle issues, you can modify the pose by placing a cushion under your heels for added support.
Warm-Up Properly: Before practicing Garland Pose, ensure that you warm up your body with some gentle stretches and movements.
Warning
Knee and Ankle Discomfort: If you experience discomfort in your knees or ankles during the pose, slowly come out of it and consult with a yoga instructor or healthcare professional.
Pregnancy: Pregnant women should exercise caution when practicing Malasana and consult with their healthcare provider before attempting the pose.
Conclusion
incorporating these 10 yoga poses for one person into your regular routine can significantly enhance your physical, mental, and emotional well-being. By practicing these poses regularly, you can improve your posture, increase your flexibility, and reduce stress and tension. Additionally, the mindfulness and deep breathing techniques associated with yoga can promote a sense of inner peace and clarity. Remember to listen to your body, breathe deeply, and honor your own limits as you embark on your yoga journey. Embrace the transformative power of these yoga poses and enjoy the countless benefits they bring to your life.